|
 |
|
|
|
|
|
More Tips |
|

drop shadow example |
|
PhotoImpact Drop Shadow
scroll down for screen captures |
|
Ulead PhotoImpact is
one of those under $100 graphics programs that is priced and full featured
enough to compete with PaintShop Pro and Photoshop Elements. I've found it
to have some useful features that made it worth the purchase price even
though I use Photoshop every day. Prior to Photoshop 5.5, I used it to add
text to my web images and compress the images with the SmartSaver Pro
filter. |
PhotoImpact makes it easier to create a drop shadow if
you open the image as an object on a new canvas. The crop function will
accurately crop the image and include the drop shadow. Additionally for
the past two years PhotoImpact has had a batch process feature that can
thumbnail a folder of images within seconds and save as a PSD. For web
design PhotoImpact has one feature that Photoshop doesn't. It allows you
to add the exact same drop shadow to each image, regardless of the
original image size. Photoshop forces you to put the canvas expansion
numbers in each time because it changes the canvas in proportion to image
size. If you're not following, me think about it this way. Photoshop
changes the size of the drop shadow in proportion to the original image
size and PhotoImpact automatically puts the same drop shadow on each
image. In web design you are looking for a uniform look to each image and
Photoshop makes it harder to achieve it. Using either program's batch
process feature
PhotoImpact does a better job. |
|
PhotoImpact Drop Shadow
scroll down for screen captures |
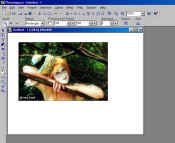
 | To bring the image files into PhotoImpact as objects, I create a
blank canvas larger than the image. |
 | Then I drag and drop the image from
ACDSee, my image viewing program which is open on my second monitor,
onto that blank canvas. Picture #1 |
 | PhotoImpact then treats the image as an object and lets you do all
kinds of things with it. In the screen capture you can see that the
image has a marques around it and is sitting on a white canvas,
which signifies that it's an object. |
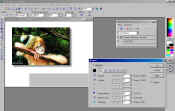
 | The drop shadow feature is under the Objects menu called Shadow and
is only available when you have an object open on the monitor. Picture
#2 |
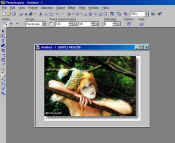
 | Upon selecting the crop tool, under Edit>Crop, the image is
automatically cropped to the edge of the drop shadow.
Picture #3 |
|
 | The images are prepared and sized in Photoshop with the text
copyright and stroke prior to opening PhotoImpact for the drop shadow. |
 | Before I flatten the layers I save a copy of the folder in case
anything has to be changed in the future. |
 | Then I flatten the layers and do a batch operation bringing the
image files into PhotoImpact as OBJECTS adding a presized drop shadow
(that I've created and saved as an action) and cropped and saved (used
to be a PSD) as a TIF and brought back into Photoshop to run the Save
for Web action. |
 | I've since discovered that Photoshop 6 doesn't see the object added
drop shadow from PhotoImpact if I save as a PSD because it treats layers
differently than previous versions of Photoshop.
 | That's why I now save as a Tif coming out of PhotoImpact before
doing the jpeg compression in Photoshop. |
|
 | Each picture is compressed at it's optimum level for fastest overall
load time. Although if I get lazy, I'll use a 34% to 40% compression
setting in Save for Web. |
|


