 |
|
|
|
|
| Image protection tip #2 |
| Adding a Copyright as a Text Layer to Protect your Image |
 | The easiest and most effective way to protect your images that
doesn't cost anything.
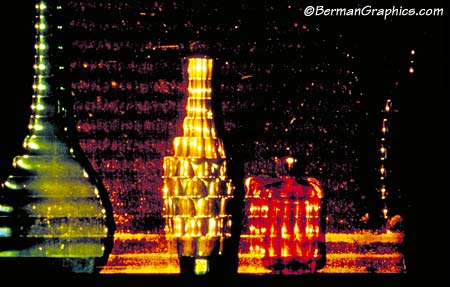
 | Notice the copyright in the upper right corner. |
|
 | Each graphics program handles text differently. Just look for the
Text Tool on the tool bar within your program. |
|

Photograph ©Larry
Berman |
 | Given that for the computer users with the skills to capture what's
on their monitor, at least your name and copyright information will go
along with it. |
 | We recommend using your web site URL so you can be found in the
future by someone who prints out your picture today. |
|

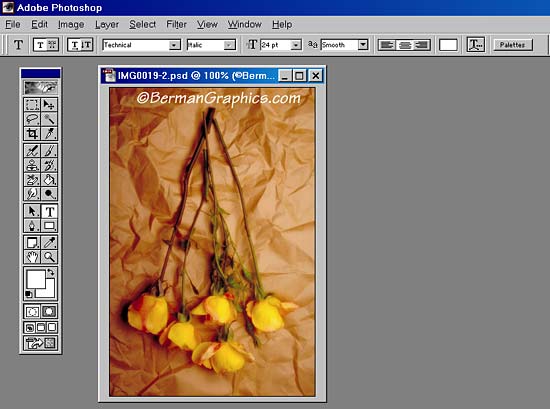
Photoshop 6 Text Options |
| In Photoshop 6 (all versions of Photoshop
apply) tool bar on the left you can see the "T"
highlighted when the Text tool is selected. The name of the font and size
and styling appears in the respective boxes in the menu bar at the top.
I've made the copyright information larger than normal for this
illustration. In this version of Photoshop, you can type on the image in
the exact place you want the type to appear. In prior versions, or other
image editing programs, the text usually appears in an entry box which
only appears on the image upon saving. |
| The copyright symbol can be added to the
text in two ways. Either using the Windows Character Map (under
Start>Programs>Accessories>System Tools in Windows 2000) or by using the
keyboard shortcut of ALT+0169 on the numeric keypad. Hold down the
ALT and type the four number designation of the copyright symbol and
release the ALT. On the MAC it's OPTION+G. |


